

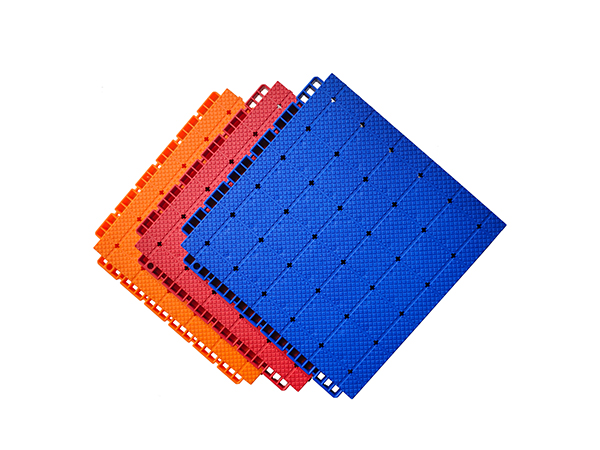
No adhesive is required throughout the installation of outdoor modular sports flooring. The tiles are connected directly via built-in male-female snap locks. One person can complete the installation quickly. No curing waiting time is needed after paving; the floor can be put into use on the same day.
1. Pre-installation Preparation
Surface Treatment: Inspect the base floor using a 2-meter straightedge. The elevation difference at any position shall be ≤5 mm. The compressive strength of the concrete substrate shall be ≥ C20, and moisture content shall be less than 8%. Completely remove floating dust, oil stains and protruding gravel. For outdoor sites, reserve a drainage gradient of ≤0.5%.
Tools and Materials: Prepare a rubber mallet, stainless steel tape measure, utility knife / cutting machine and spirit level. Prepare matching edge trims and dedicated corner locks. For sports applications, EPDM underlayment can be selected as an option.
Material Acclimatization: Unpack the tiles and leave them at the installation site for 24 hours to fully adapt to the local temperature and humidity, preventing thermal expansion and contraction deformation caused by temperature differences later.
2. Paving Procedures
Benchmark Positioning: Start from the upper-left corner of the site. Place the first tile with its male lock facing inward toward the site, align it with the pre-marked reference line and lay it flat as the positioning benchmark for the whole area.
Piece-by-piece Interlocking: Fully align the male and female snaps of the next tile. Gently tap the tile edge with a rubber mallet to ensure the snaps lock completely. Do not strike violently to avoid damaging the snap structure.
Staggered Joint Paving: Arrange the tiles in a running bond or herringbone pattern. The end joints of adjacent tiles shall be staggered by ≥30 cm. Check flatness with a spirit level every 10 m² laid; the deviation within 2 meters shall be ≤3 mm.
Edge Cutting: For partial tile areas along site boundaries, measure dimensions accurately on site and cut with a cutting machine to achieve neat cuts. Leave a 1–2 cm expansion gap between tiles and walls.
Edge Finishing: Install female and male edge trims sequentially. Fit one dedicated corner lock at each of the four corners of the site. In high-traffic public areas, expansion bolts may be additionally used to fasten the trims and prevent tripping hazards from curled edges.
Adhesive bonding is prohibited at all times. Glue may corrode the bottom structure of tiles and create risks of hazardous substance emission in later service.
For irregular-shaped sites, layout planning shall be performed in advance according to actual contours to optimize the arrangement of full tiles. Cut edge sections in a concentrated manner at last to reduce material waste.